The Ultimate Guide to Zebra Z4M Printheads
The Power Behind the Print: Understanding the Zebra Z4M Printhead
For years, the Zebra Z4M series of industrial printers has been a staple in logistics, manufacturing, and warehousing. Known for their rugged durability and high-volume output, these printers rely on a single, crucial component to produce clear, scannable labels: the Zebra Z4M printhead. This small but mighty part is the heart of the thermal printing process, directly responsible for the quality and consistency of every barcode, text, and graphic you print.
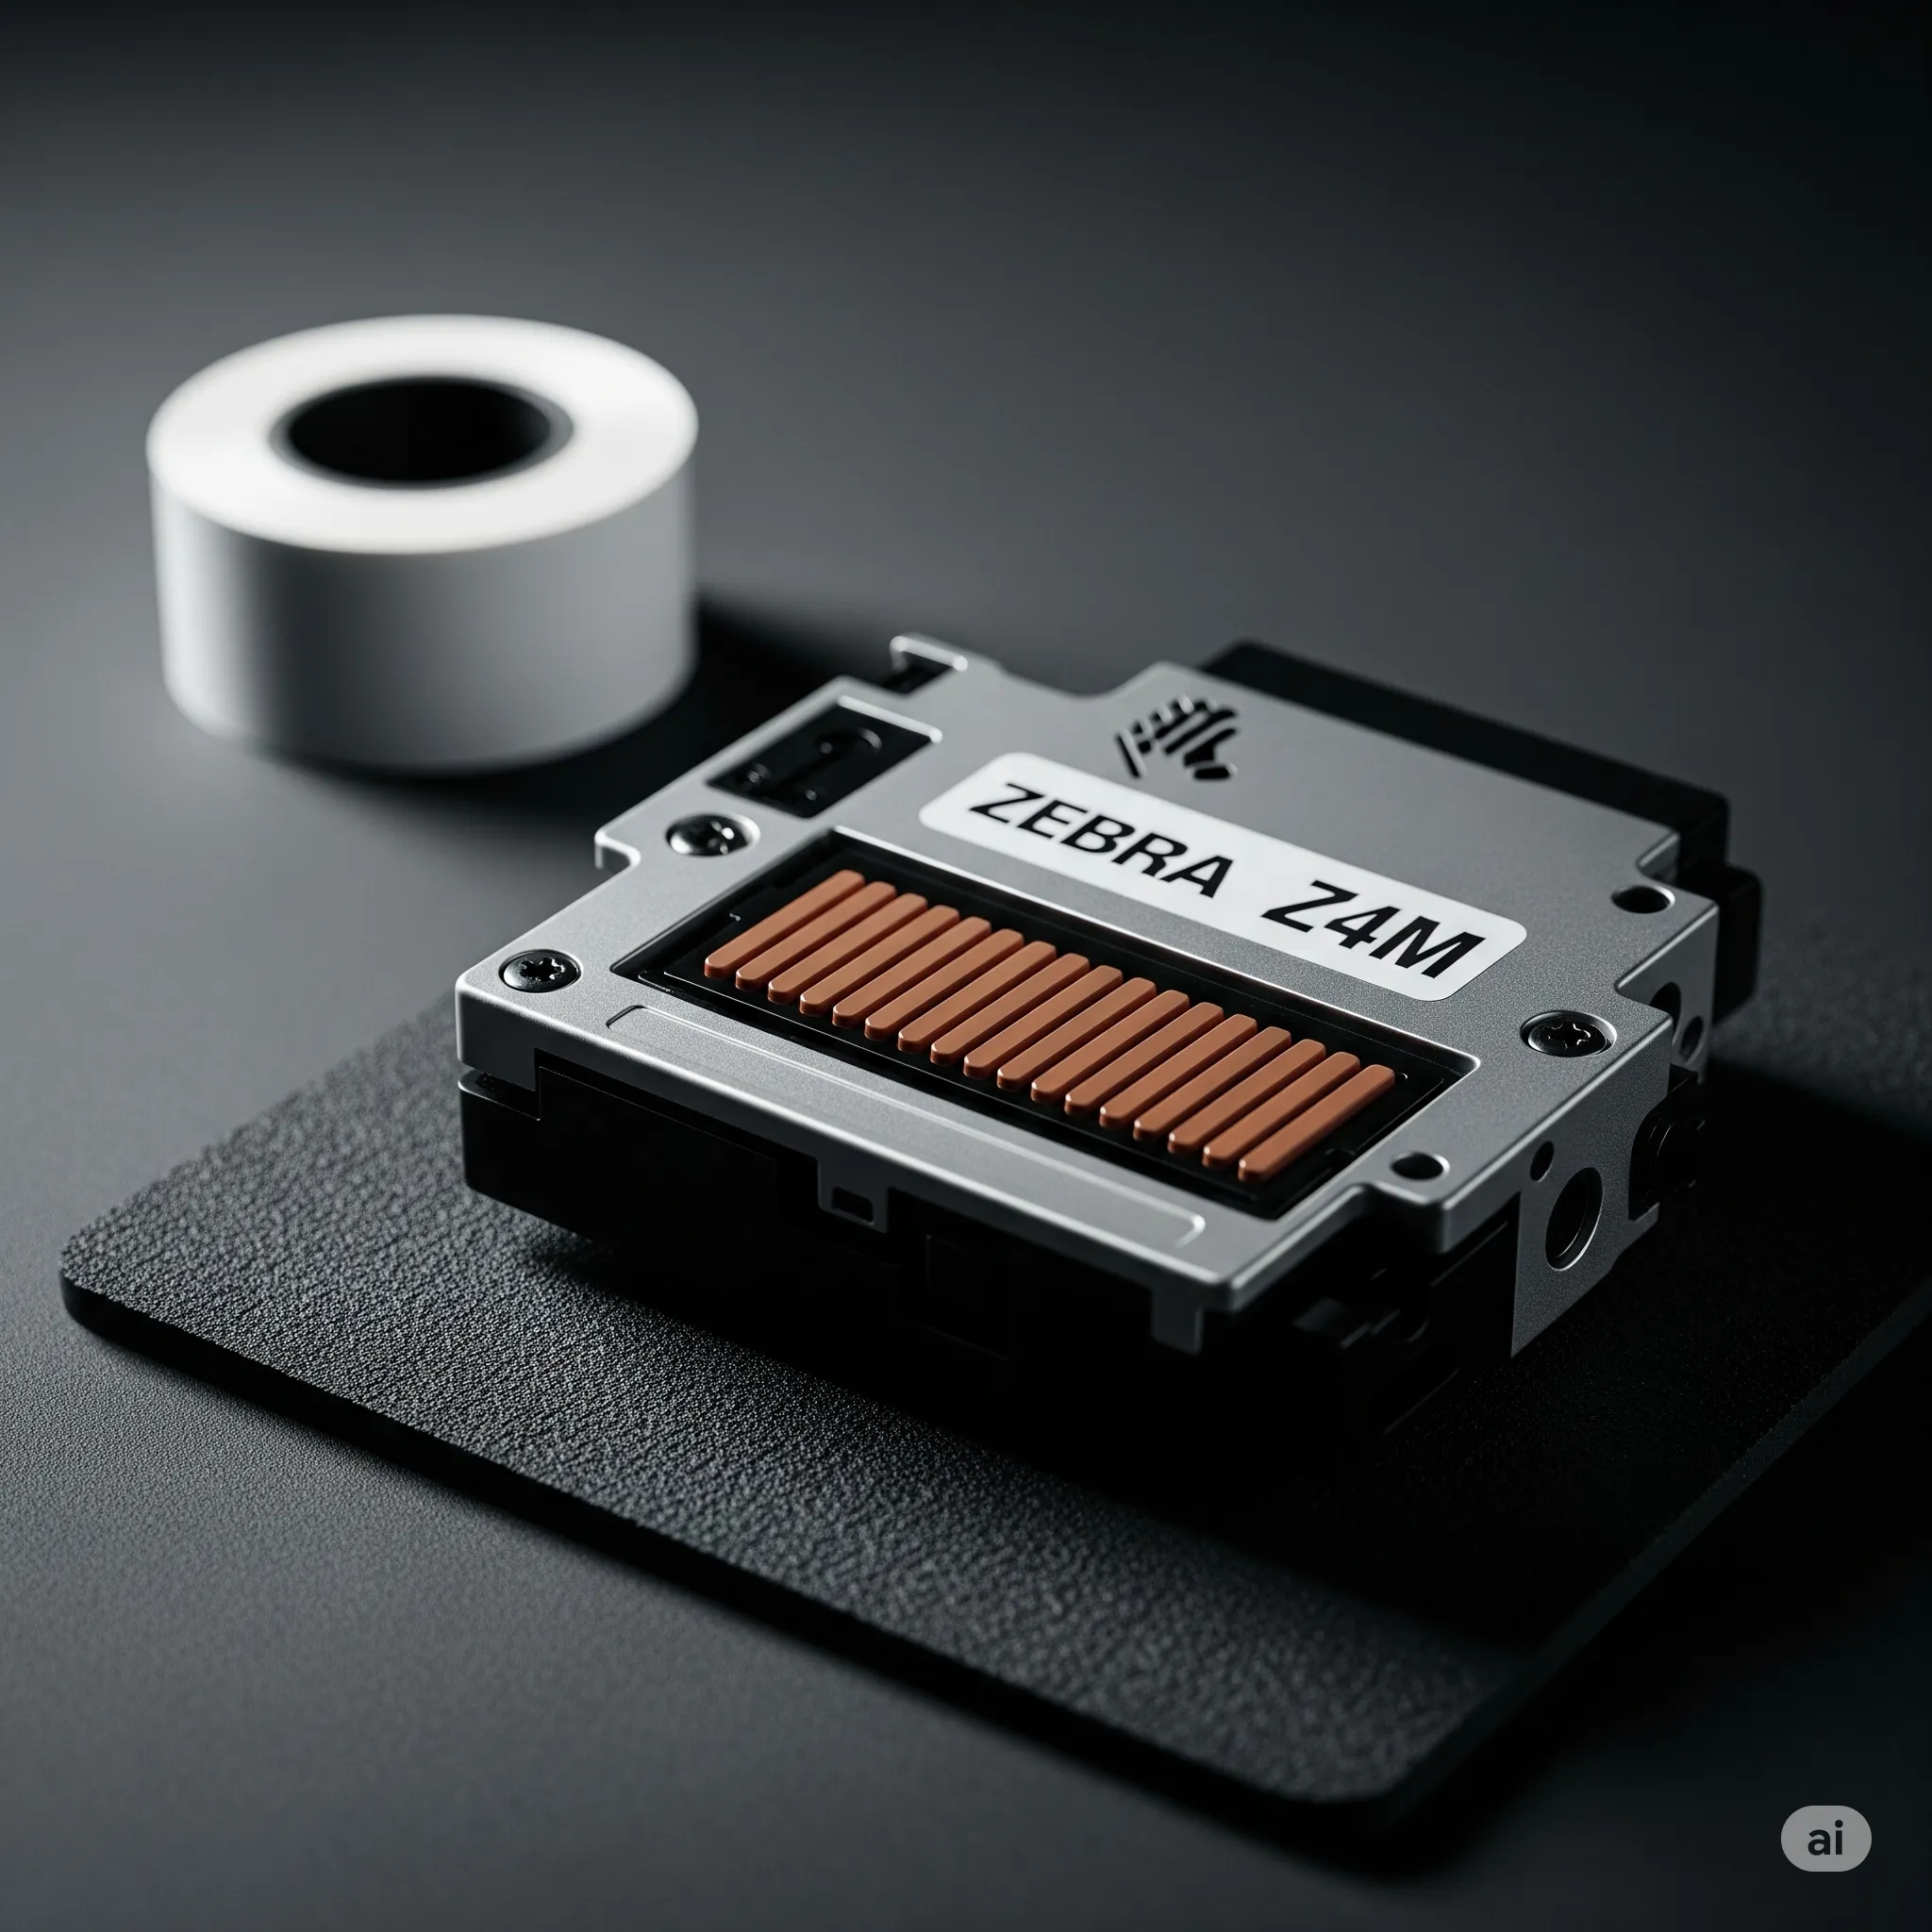
The Zebra Z4M printhead is a thermal printhead that contains a row of tiny heating elements. These elements are individually controlled by the printer's electronics. When a print job is sent, the heating elements are rapidly and precisely activated, either directly heating a thermal-sensitive label or melting ink from a thermal transfer ribbon onto a standard label. The Z4M printhead is available in different resolutions, most commonly 203 dpi and 300 dpi, allowing businesses to choose the right level of detail for their specific application, from simple shipping labels to intricate 2D barcodes.
Neglecting your Zebra Z4M printhead can lead to a host of problems, including faded prints, unreadable barcodes, and costly downtime. This comprehensive guide will equip you with the knowledge to maintain, troubleshoot, and, when necessary, replace your Zebra Z4M printhead, ensuring your printer continues to be a reliable workhorse for your business operations.
Why Printhead Maintenance is Critical for Your Z4M
Regular maintenance is not just a suggestion—it's a requirement for achieving a long and productive life from your Zebra Z4M printhead. A dirty or unmaintained printhead is the leading cause of poor print quality and premature failure.
Key benefits of a routine cleaning schedule:
-
Extends Printhead Life: Debris like dust, label adhesive, and ribbon residue can scratch the delicate surface of the printhead, leading to "blown" heating elements and permanent damage. Regular cleaning removes these abrasive particles, significantly extending the life of your Zebra Z4M printhead.
-
Ensures Print Consistency: A clean printhead ensures uniform heat transfer across the entire row of heating elements. This results in consistently dark, crisp, and high-quality prints without faded spots or voids.
-
Improves Barcode Scannability: For businesses that rely on scannable barcodes, a clean and healthy printhead is essential. Faded or inconsistent barcodes are a major source of operational delays and can lead to costly manual data entry or returns.
-
Prevents Ribbon Wrinkling and Jams: A dirty printhead can cause the thermal ribbon to stick or wrinkle as it passes through the printer, leading to poor print quality and media jams. Cleaning the platen roller (the rubber roller opposite the printhead) is also a key part of this process.
The Correct Way to Clean Your Zebra Z4M Printhead:
Zebra recommends cleaning the printhead every time you change a roll of media or ribbon to prevent buildup. The process is simple and takes only a few moments.
-
Power Down and Disconnect: Always turn off and unplug the printer from the power source. Wait for a few minutes to allow the Zebra Z4M printhead to cool down, as it can get very hot.
-
Open the Printhead: Open the media door and lift the printhead-open lever to expose the printhead and the platen roller.
-
Use Approved Cleaning Supplies: Use a Zebra-approved printhead cleaning pen or a lint-free swab moistened with 99.7% isopropyl alcohol.
-
Wipe the Heating Element: Gently wipe the length of the printhead's brown ceramic heating element strip from the center outwards to remove any dirt or residue. Be careful not to touch the surface with your fingers.
-
Clean the Platen Roller: Use the same cleaning solution to wipe down the platen roller, which can accumulate adhesive from labels.
-
Allow to Dry: Let the alcohol evaporate completely before closing the printhead and powering the printer back on.
Common Issues and Troubleshooting for the Zebra Z4M Printhead
Even with excellent maintenance, your Zebra Z4M printhead might experience issues. Here are some of the most common problems and their solutions:
-
Vertical White Lines: This is the most common symptom of a damaged printhead. A perfectly straight, vertical white line running through your print indicates that one or more of the heating elements have failed or are "blown." This is a permanent issue, and the only solution is to replace the printhead.
-
Faded or Light Print: This can be caused by several factors. First, check if the printhead is dirty and perform a thorough cleaning. If the issue persists, check your print darkness settings in the printer's menu or through your driver software. Also, ensure the media and ribbon combination you are using is correct (e.g., using a resin ribbon on a coated paper label).
-
Horizontal Voids or Streaks: If you see horizontal lines or inconsistencies, it may be an issue with your ribbon or media. Ensure the ribbon is properly loaded, is not wrinkling, and is the correct width for your labels.
-
Poor Print Adhesion or Rub-off: This is often not a printhead issue, but a supply issue. Ensure you are using the correct ribbon type (wax, wax/resin, or resin) for your label material. Resin ribbons, for example, are required for durable synthetic labels.
How to Replace Your Zebra Z4M Printhead
If you've determined that your Zebra Z4M printhead is beyond repair, a replacement is necessary. The process is designed to be user-friendly, but always use a genuine Zebra printhead to guarantee compatibility and optimal performance.
Before You Begin:
-
Purchase the correct replacement Zebra Z4M printhead for your printer's resolution (203 dpi or 300 dpi).
-
Turn off and unplug the printer.
-
Use an anti-static wrist strap or work on an anti-static mat.
Step-by-Step Replacement:
-
Open the Printer: Open the media door and the printhead assembly to expose the old printhead.
-
Disconnect and Remove: Disconnect the printhead's data and power cables. The printhead is typically held in place by a simple clip or two small screws. Gently unlatch or unscrew the printhead and lift it out of its housing.
-
Install the New Printhead: Carefully position the new Zebra Z4M printhead in the same spot, ensuring it aligns correctly with the mounting points.
-
Reconnect: Reconnect the power and data cables, making sure they are securely seated.
-
Secure and Calibrate: Close the printhead assembly, ensuring it clicks into place. Power the printer back on and run a calibration or a self-test print to ensure everything is working correctly and the print quality is high.
FAQs
Q1: How do I know if my Z4M printhead is a 203 dpi or 300 dpi model? A: The resolution is usually indicated on a label on the printhead itself. It will say either 203 dpi (8 dots/mm) or 300 dpi (12 dots/mm). This information is also typically on a sticker on the printer's exterior, often near the model number.
Q2: Can I use a used or third-party printhead? A: While third-party printheads may be available, using a genuine Zebra Z4M printhead is highly recommended. Genuine parts are designed and tested to work perfectly with the printer, ensuring consistent quality and avoiding potential damage from incompatible components.
Q3: What causes my printhead to fail prematurely? A: The most common culprits are a lack of cleaning, using abrasive label materials (such as synthetic media without a compatible resin ribbon), and high print darkness settings, which can cause the heating elements to overheat and fail.
Q4: Should I clean the platen roller? A: Yes. The platen roller, which works in tandem with the printhead, can accumulate adhesive and debris. A dirty platen roller can lead to media jams, poor print quality, and can even contribute to premature printhead wear.
Conclusion
Your Zebra Z4M industrial printer is a significant investment, and its printhead is the key to protecting that investment. By committing to a simple but effective routine of maintenance, being able to troubleshoot common issues, and knowing how to perform a proper replacement, you can ensure your Zebra Z4M printhead delivers high-quality, reliable performance for years to come.
External Links
-
https://www.youtube.com/watch?v=your-video-link (replace with a relevant Zebra support video)